Tuesday, April 21, 2020

How to Draw Portraits

With the studio closed I have been working on my YouTube channel. My older students were getting ready to do self portraits so I am starting off with 4 part series on Portrait Drawing. The first 3 lessons focus the details of drawing each feature. Lesson 4 (coming very soon!) we put it all together with the proper proportions. Please check it out and subscribe!!!! Its aimed at ages 9 and up. 

Gather your materials: 

1. A front view self portrait at least 5X7" (a school portrait would be perfect, you want something that shows shadows) 
2. 2b or 3b pencil (HB is fine if that is all you have)
3. pencil sharpener and an eraser. 
4. 9x12 sketchbook (or 8X10 but not smaller or copy paper if that is all you have)

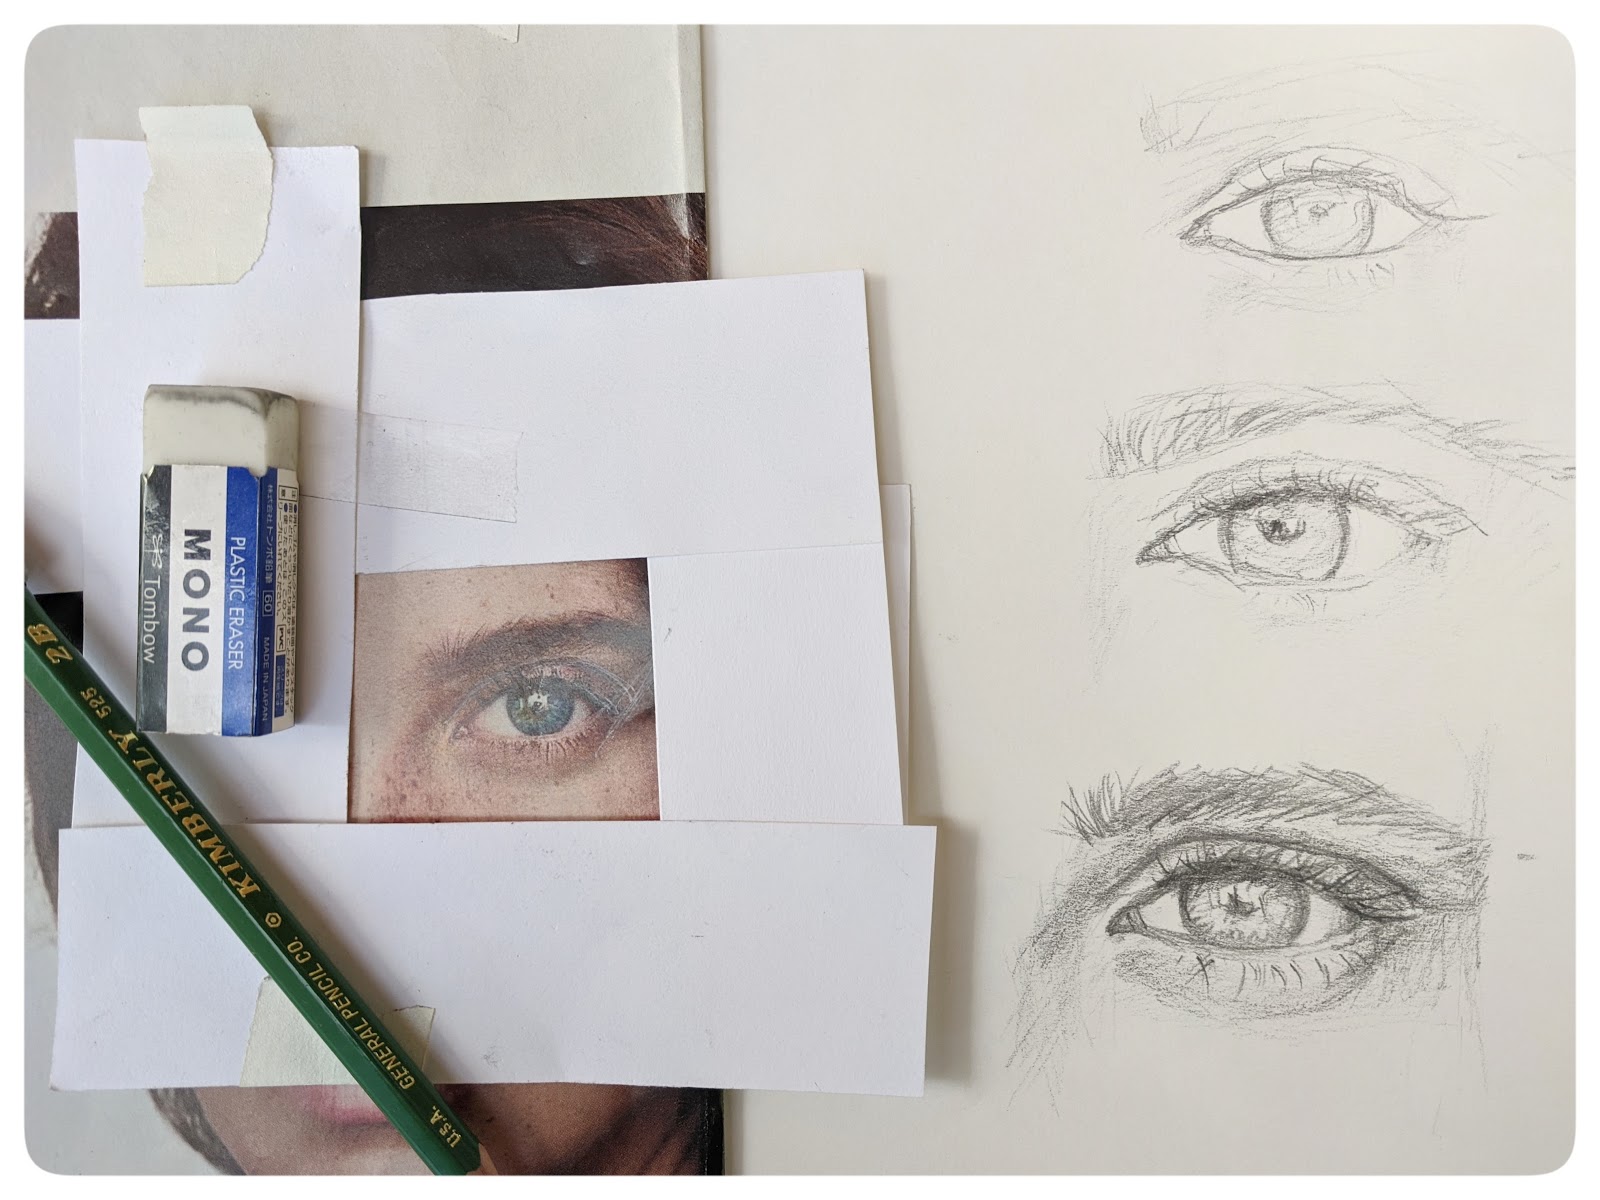
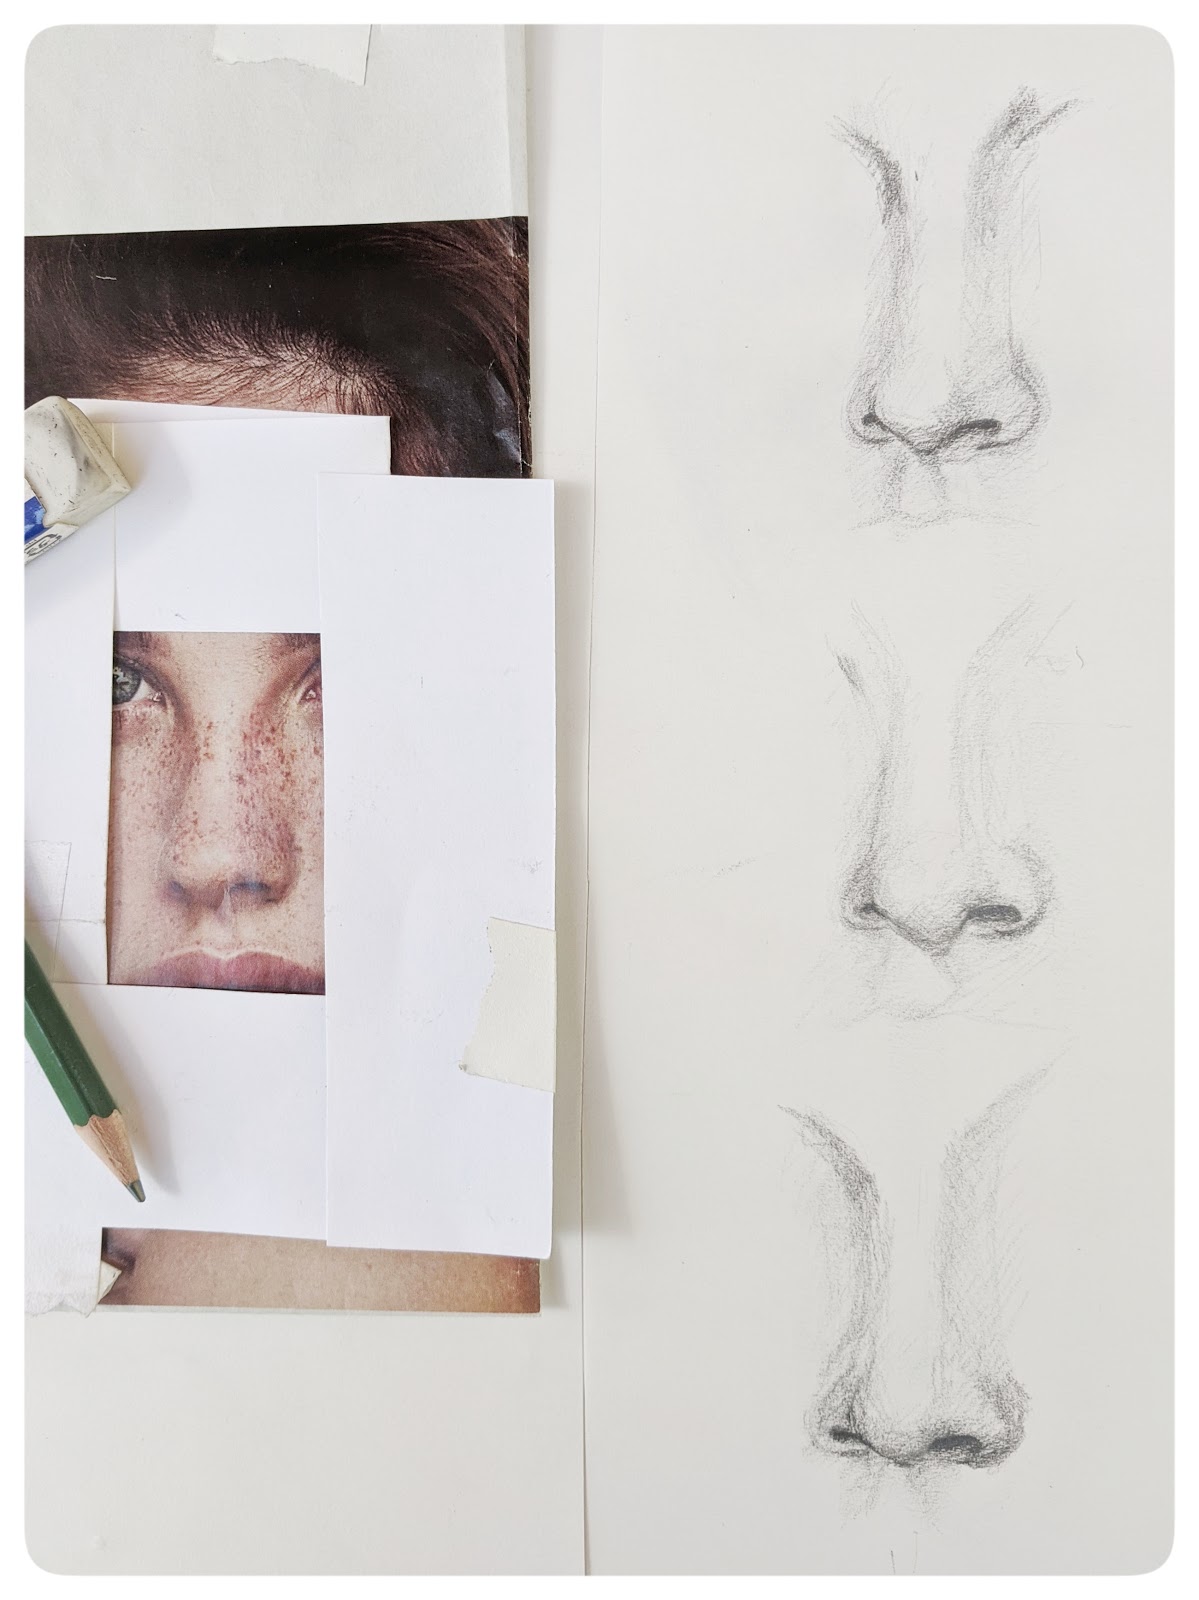
I'll walk you through steps of the each feature and you'll practice it on your own 3-5 times. 
I am using a picture from a magazine  but I encourage you to use a portrait of yourself. You'll be spending a lot of time on this portrait, it's a great record of where your drawing skills are at right  now.

I mask off everything except for the eye and its surrounding area. We'll closely observe just the eye and draw it 3-5 times. Practice, practice, practice! 

Lesson 1: How to Draw Eyes


Lesson 2: How To Draw the Nose


Lesson 3: How to Draw the Mouth


Stay tuned, the next lesson on drawing the whole portrait will be out this week.

Wednesday, April 8, 2020

Block printing projects for kids and adults

Our winter Block Printing class got cut short because of school closures this spring. I did have 2 students that were able to print their finished relief prints. 

This session started with students choosing from 4 different still life arrangements in the studio.

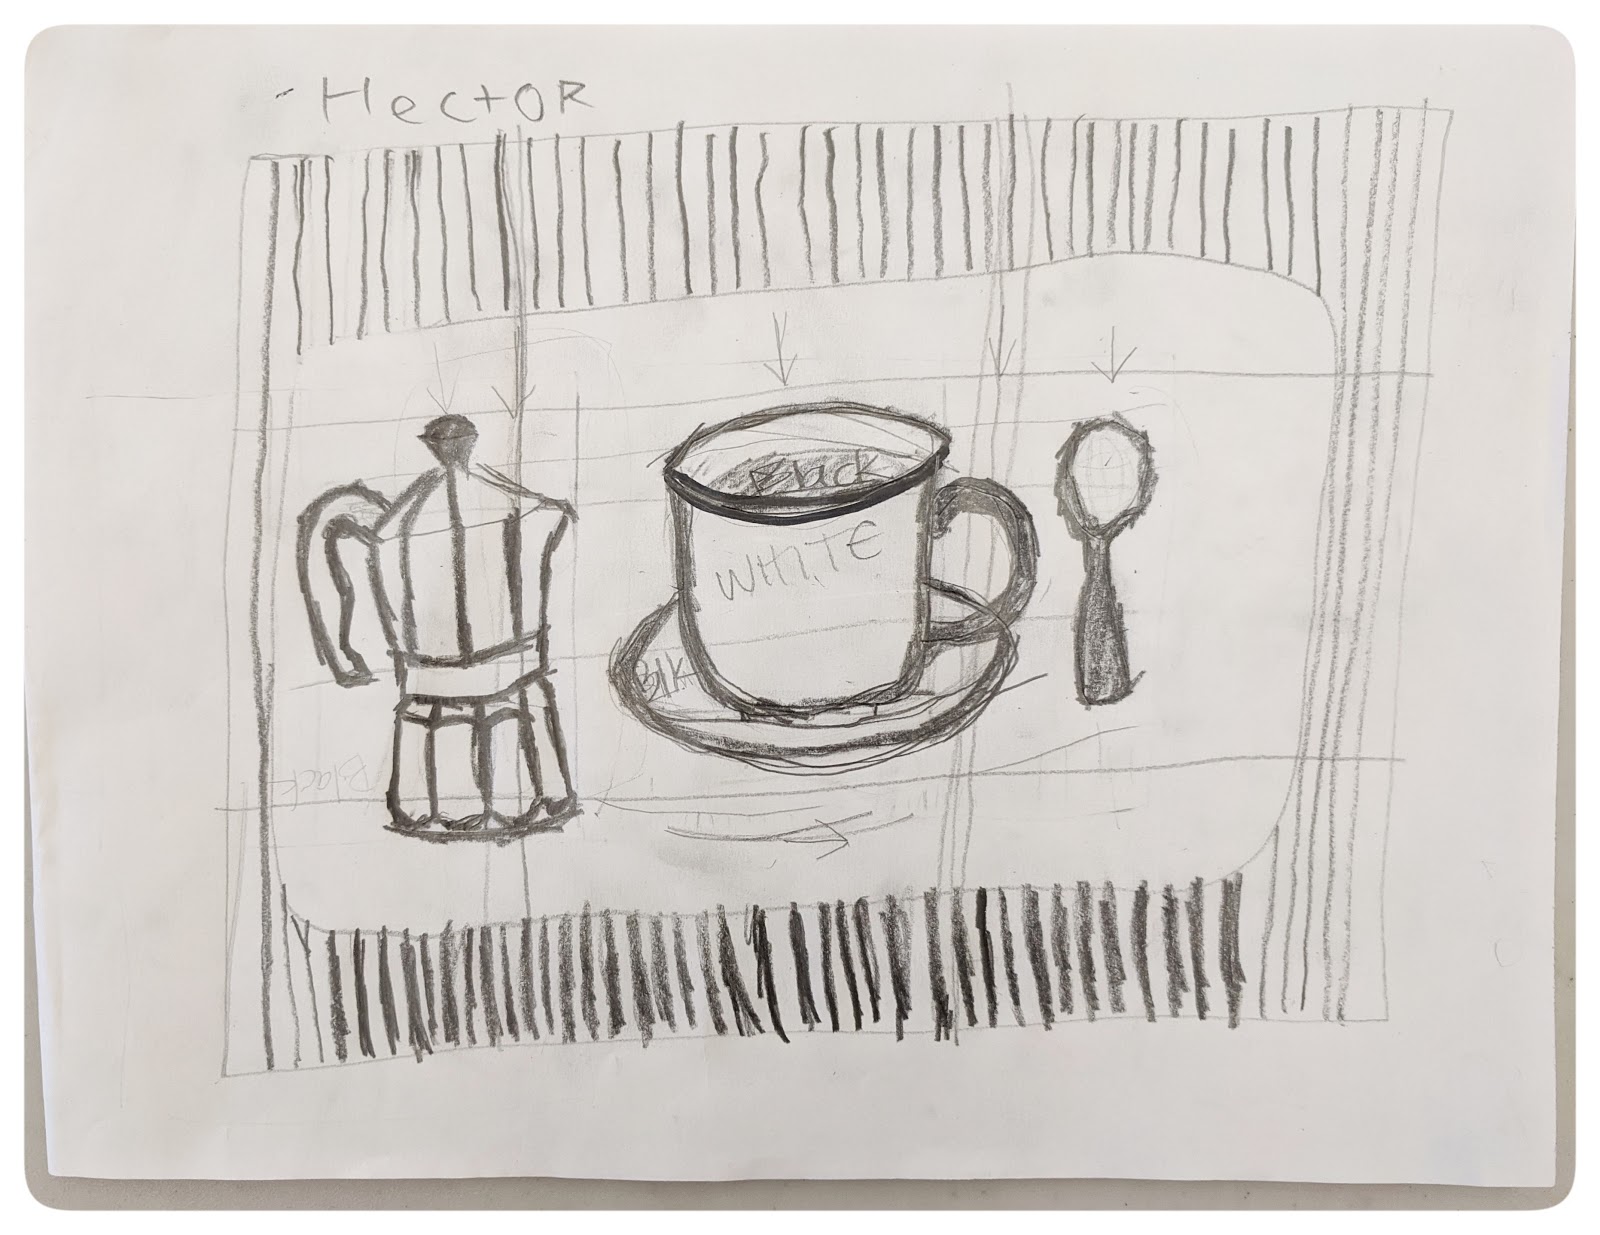
Step 1. Students did 3 thumbnail sketches of different ideas of their selected still life.  We talked about the characteristics of a block print and what makes it different than  other mediums. Students took this into consideration as they developed their ideas.

Step 2. We talked about illustration, composition, positive and negative space, pattern and design. Students selected their favorite sketch and we developed it further considering all of our design elements.

Step 3. We blocked out black and white areas, trying to have them alternate and having a ratio of 50% carved (white) and 50% to remain black ( the inked areas). 

Step 4. Carving the block

Step 5. Printing!


Although we did not have a chicken as part of the still life, the still life arrangements are a starting point. Student creativity is always encouraged!


We simplified the outer border so that it would be a stronger design and easier to carve. I also loke the way the triangular pattern repeats in the strings of the drum.


A playful design with all three objects being the same size. We continued the carved lines on 4 sides of the objects to create a frame.


Still life with arrangement.


Work in progress.


Thumbnail sketches, such an important step when planning any project.


My little press, oh how I love it so...


Related Posts Plugin for WordPress, Blogger...